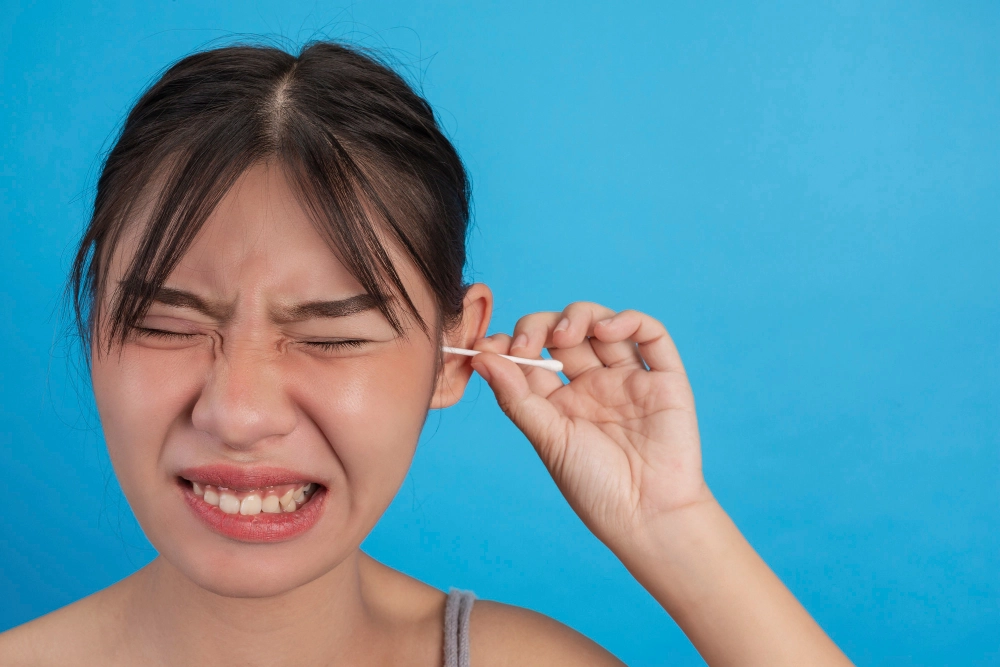
Do you know the best and safest way to clean your ears? Have you ever heard of the saying, “Never put anything in your ears smaller than your elbow?” Many of us have heard ENTs, Primary Care Doctors, and audiologist say this while convincing you to not use cotton swabs or ear candling.
Your ears usually do a good job of cleaning themselves and don’t really need extra care. The only reason you should be cleaning them is to soften or remove earwax from the outside of your ear canals (the part of the ear you can visually see). If you are going to clean your ears, you’ll need to know how to do so carefully.
Why Your Ears Make Wax
We’re often tempted to clean our ears because of that substance called cerumen also known as earwax. Even though you might think of earwax as an annoyance, it actually serves an important purpose. Our body produces it naturally, and it helps protect and lubricate your ears.
Earwax has antibacterial properties, which means your ears are self-cleaning! It’s like a filter for your ears, keeping harmful things like dirt and dust out. It traps them so they don’t go deep inside. Earwax has its own way of cycling out of the ear canal when you chew and move your jaw. It ends up in the opening of the ear canal where it dries up and falls out.
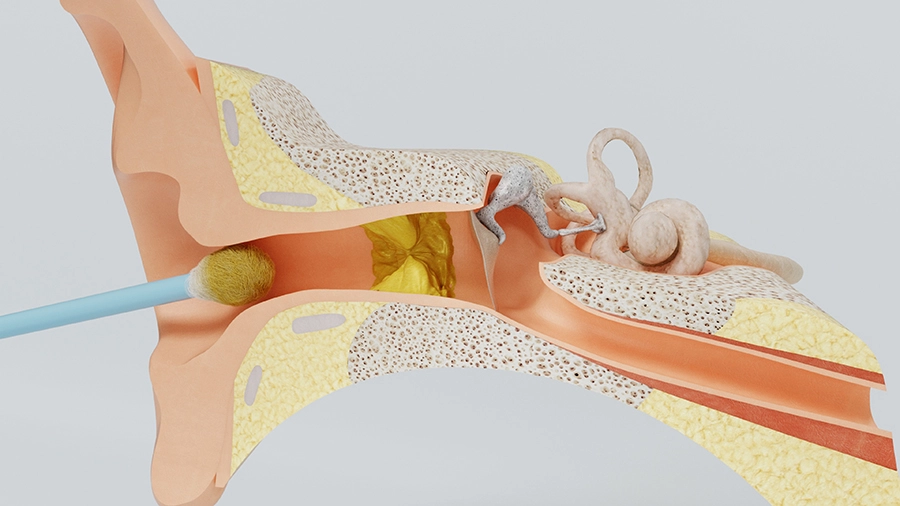
Earwax is not formed in the deep part of the ear canal; it’s made in the outer section. So, the only reason you would have an earwax blockage is because you tried to clean your ears with a cotton swab or similar object and pushed it in deeper.

Symptoms of Impaction
When earwax begins to build up and affect your hearing it is called impaction. If you have an earwax impaction, you may experience symptoms like:
- Aching in the affected ear
- Fullness or pressure feeling in the ear
- Ringing or tinnitus
- Impaired hearing in the affected ear
- An odor coming from the affected ear
- Dizziness or vertigo
- A cough
Some patients who use hearing aids or earplugs are more likely to develop more earwax. Your ear canals’ shape may make the natural removal of earwax difficult.
Best and Safe Ways to Clean your Ears
The safest way to remove earwax impaction or build up is to visit our ENT physicians or Audiologist. At your appointment, we can use special instruments, like a curette, forceps, suction devices, or professional irrigation to clear the blockage.
If you choose to remove earwax at home, the following are the safest ways to try on your own:
Damp cloth
- Try wiping the area with a warm damp washcloth. You can use the washcloth on the outer ear as well as gently clean the opening of your ear canal.
- Try this after you get out of the shower.
Over-the-counter ear cleaning drops
- Many pharmacies sell over-the-counter ear drops that soften earwax. Place the specified number of drops into your ear, wait, and then drain or rinse out your ear.
- Always follow the instructions on the package.
Use a bulb syringe
- If you have any previous history of a hole in your eardrum or perforation of your eardrum, DO NOT USE this technique. It will be extremely painful.
- Use a syringe to irrigate your ears. In this process, you will gently rinse out the ear canal using room temperature water or a mixture of hydrogen peroxide and room temperature water. You can use the earwax softener prior to irrigation.
- Make sure the water or mixture being used is room temperature. If the liquid is too cold or too warm, you will become dizzy and experience vertigo.
If symptoms persist, please contact our office and our medical professionals can remove the earwax for you. If your body produces more earwax, it is common to have the earwax removed by our doctors at least twice a year.
Remember earwax is a natural protectant for our ears. If you decide to use these cleaning techniques, please be very careful and gentle. Our ear canal is an average of 1 inch long, never places cotton swabs or objects into your ear canal. This can cause damage and even worse create a perforation (hole) in your eardrum. Always call our office if any questions or concerns arise.


